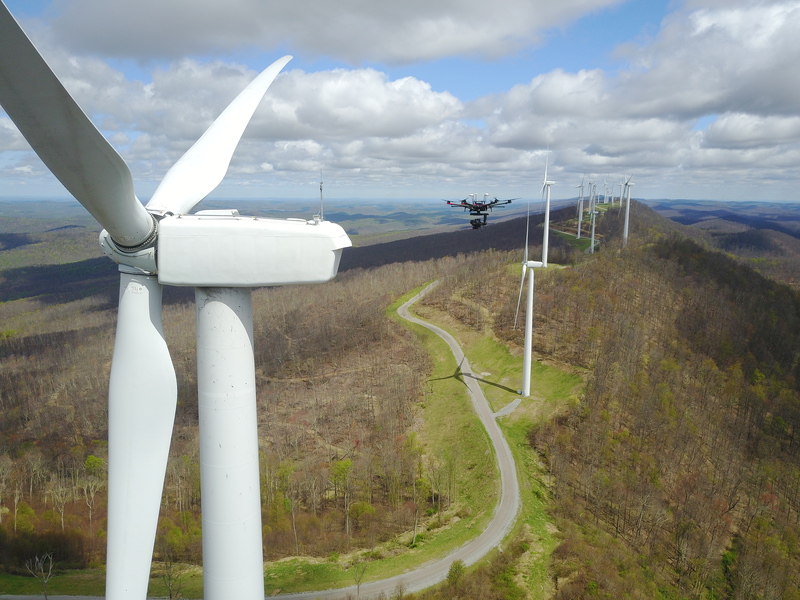
The LiDAR system that is mounted on the drone is used not only to navigate close to the blade but also to obtain spatial information about the blade. After a mission is completed, the data import process associates each image with the corresponding spatial information...
LiDAR Technology Guides Measure's Automated, High Definition Wind Turbine Inspections
Contributed by | Measure
Measure is now offering an autonomous and higher resolution solution for wind turbine inspections.

Measure’s latest solution for wind turbine inspections uses automated drones, LiDAR technology, and high-resolution cameras to capture consistent, high quality data.
A customized LiDAR sensor precisely guides the drone along a 4-path inspection, eliminating drift due to variable wind conditions and controlling drone velocity to minimize motion blur. The viewing angle on the four sides of the blade is perpendicular, and 100% of the blade is inspected, without the need for pitching the blades.
Inspection data can be captured with one of two different drone and payload options, providing varying levels of image resolution:
- 20 mega pixel camera equipped on DJI M210 – “high resolution data inspection” – This platform is typically used for routine O&M inspections.
- 47 mega pixel camera equipped on DJI M600 – “ultra high resolution inspection” – This platform is typically used for warranty or insurance claim adjustment inspections.

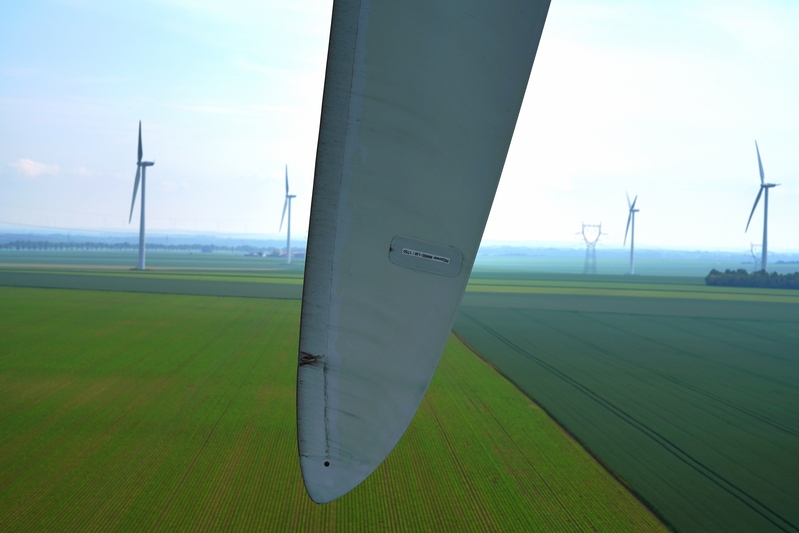
A high resolution image captured for O&M inspection.
A specialized flight plan is built based on a pre-developed pseudo 3D model of the wind turbine to be inspected. Once loaded with the 3D flight plan, the drone is ready to perform fully automated, and precisely repeatable, turbine blade inspections.
Each inspection flight path has an area of interest -- leading edge, trailing edge or side (suction or pressure side). Images are always framed such that the area of interest is visible over the entire image height and as much of the blade is shown as possible, given the prescribed observation distance. Each path is composed of the same number of images and they are placed at the exact same altitude. This creates a virtual walk around the blade and enables cracks located near the trailing edge to be assessed from both sides of the blade.
The LiDAR system that is mounted on the drone is used not only to navigate close to the blade but also to obtain spatial information about the blade. After a mission is completed, the data import process associates each image with the corresponding spatial information from the LiDAR system. By merging the spatial meta data with the images, and adding automated blade edge detection and image brightness correction, it becomes possible to determine the position of a defect (within 10 cm) on the blade and its dimensions (within 5mm). The key measurements include:
- Distance from the root
- Distance from the leading edge
- Size of the defect
Once data is uploaded, data processing and analysis begins.
Measure uses a 3-step process designed to report accurate and actionable information. Step 1 is Automated Classification based on pattern recognition techniques that automatically identify images with defects, measures and locates each defect, and then preliminarily classify those defects into 5 category levels. During Step 2, Manual Review, Measure engineers review classified images and correct any false positives and/or false negatives, feeding those corrections back into the image processing algorithm to improve future data processing accuracy. In the final step, Blade Specialist Review, Measure’s team of former LM Wind and GE blade repair engineers provide a QA/QC check on the inspection findings and conduct an engineering review, adding expert commentary on any severe defects (Class 3-5).
Upon completion of data processing and analysis, Measure delivers an easy-to-use, actionable report. PDF reports provide a clear punch-list of defects, including high-resolution imagery and the location, size, type, and severity of each defect. Our online web portal allows for secure storage of inspection data and makes it easier for the asset manager to access detailed inspection data, as well as to look through the history of inspection results and perform portfolio analytics.
Finally, Measure operates a pass-through partnership with leading blade repair companies, which can decrease the lag time between inspection and repair, ensuring an efficient blade inspection-to-repair process.
The content & opinions in this article are the author’s and do not necessarily represent the views of AltEnergyMag
Comments (0)
This post does not have any comments. Be the first to leave a comment below.
